Extending the breather hoses on the JK Wrangler is great insurance – I want my Jeep to be capable of deep water crossings without worrying about replacing all my fluids soon after. In remote Africa, that likely won’t be an option.
I’d much rather DIY it than buy an expensive kit, the below cost me under $30 and took about an hour.
Things to buy
- This .
- These . For a standard trans you’ll need 8 of them (buy one 10 pack), for auto get 12 of them (buy one ten pack and some singles)
- These . For a standard get one of them, for an auto get two.
Tools needed:
- A sharp knife or scissors to cut the fuel line.
- Pointy nose pliers.
- Zip ties.
There are a few possible variations to what I’ve chosen to do in terms of routing and where you terminate your breather hoses.
The choice is yours.
Step 1:
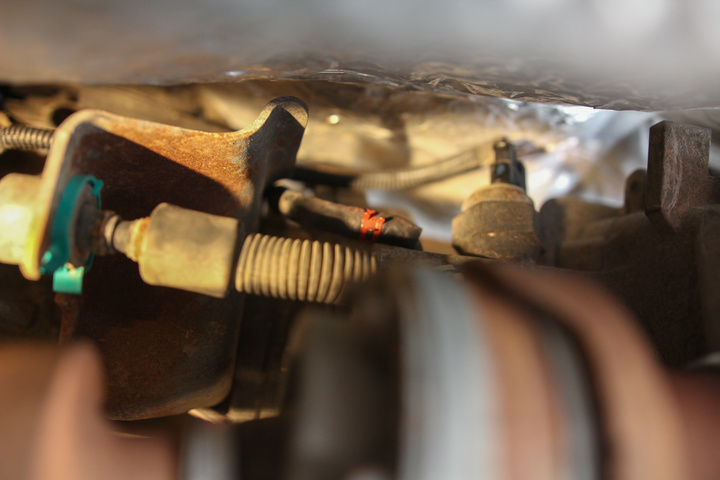
Pull the old breather hose off the rear diff (it just pulls off the diff). The other end will just come out when you pull it. Slide a clamp over the end of the hose, then push it onto the diff and slide the clamp down with pliers.
Leave a good amount of slack above the rear diff for full droop.
Step 2:
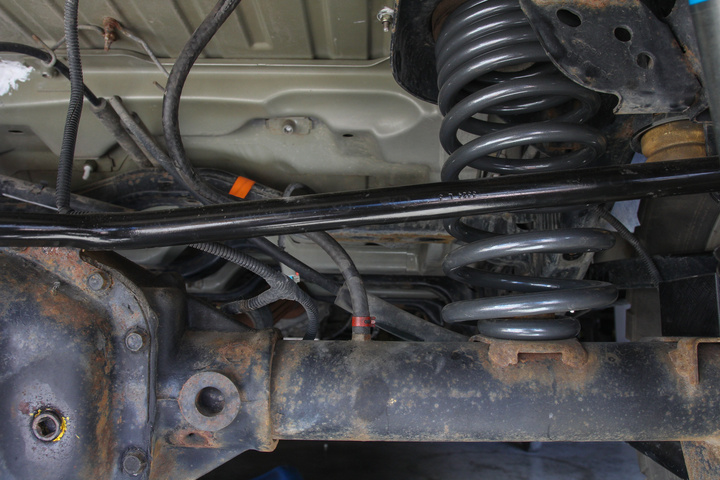
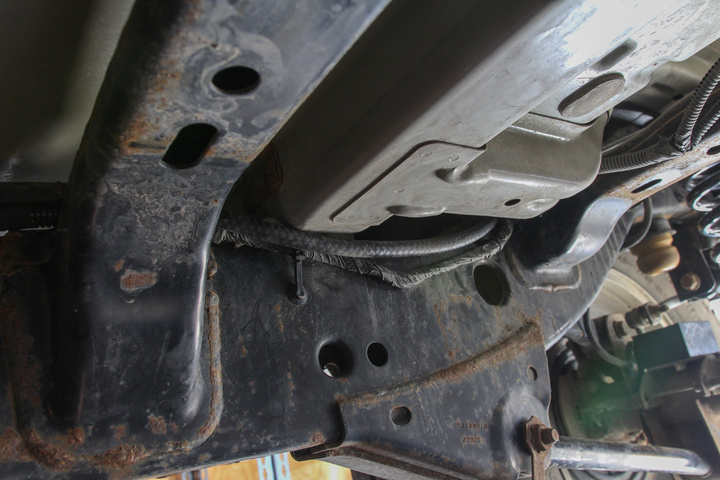
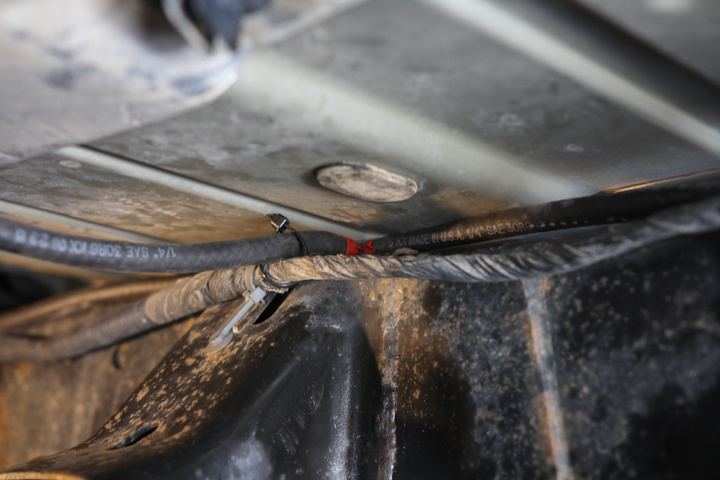
Feed the hose up and over the cross member then along the passenger side frame rail, following the factory wiring for the gas tank.
Step 3:
Feed the hose forward and cut it to length where the transmission cross member meets the passenger frame rail.
Step 4:
Pull the exiting short breather off the transfer case and throw it away. The best way to get at it is from the drivers side – it’s on top of the transfer case with the nipple pointing forward. Slide a clamp onto some hose, jam it onto the nipple then wrestle the clamp down with the pliers. Feed the hose along the cross member to where your other new hose is waiting.
Step 5: (Auto Only)
Same as step 4, on the auto trans. Feed the hose over to your waiting hoses.
(Note the 6 speed has a breather that goes up to where the shifter boot is. It’s too difficult / not worth messing with, so we won’t be changing anything there)
Step 6:
Put tee junctions with clamps into your hoses so they all join above where the cross member meets the frame rail. Use zip ties to attach everything so it won’t move around or get in the way of anything.
Step 7:
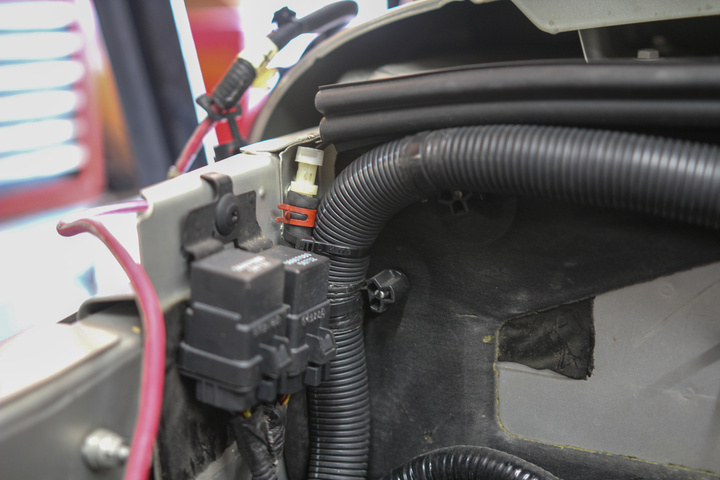
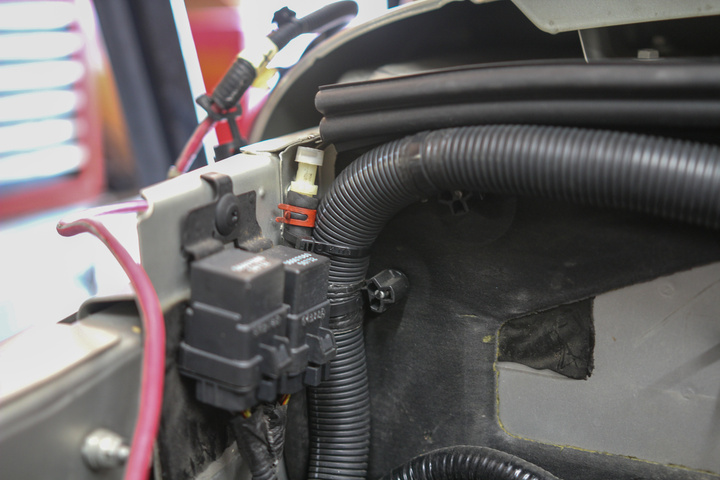
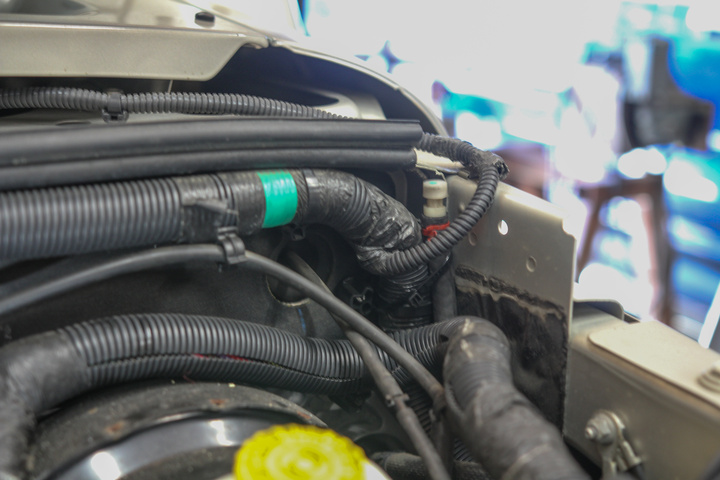
Run the hose from your tee forward into the engine bay. I decided I didn’t need the breathers to be insanely high, the top of the engine bay is plenty for my needs. I ran the hose up to the very top passenger side corner, and re-used one the little plastic ends from the original hoses with a clamp. Another option is to join the hoses into the air box, or the breather hose coming off the air box if you have a snorkel and want to drive through seriously deep water.
Step 8:
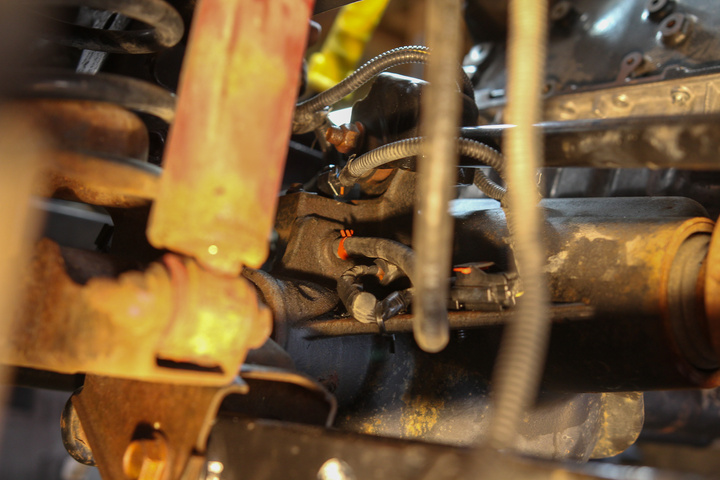
Pull the factory breather off the front diff, and note where it’s routed. On the front diff the breather is on the drivers side, pointing towards the back of the Jeep. Put a clamp on some hose, push it onto the front diff, then slide the clamp down with the pliers.
Step 9:
Route the new front diff breather in the same place the original breather was. Again, I ran mine to the very top of the engine bay, on the drivers side. You could run it across to the other side and join it to the other one if you’re going to the air box.
All done, go drive through some rivers!
-Dan



Very nice! Thanks
What is the parts link to the last item on Things to Buy?
Hi Meg,
Sorry about that. The part needed is T-Juncion joins for the hose. Like this one: 1/4 inch brass Tee
I updated the link – thanks.
-Dan
Great help ! Thank you. Amazon links very helpful. Thanks for going the extra mile.
Guess thats how you made it around Africa.
Big fan of your Utube vids. I’m expecting to get pretty wet this year, so seemed like a good idea to finally get off my can and do this lil project.
D. C. 2013 JK